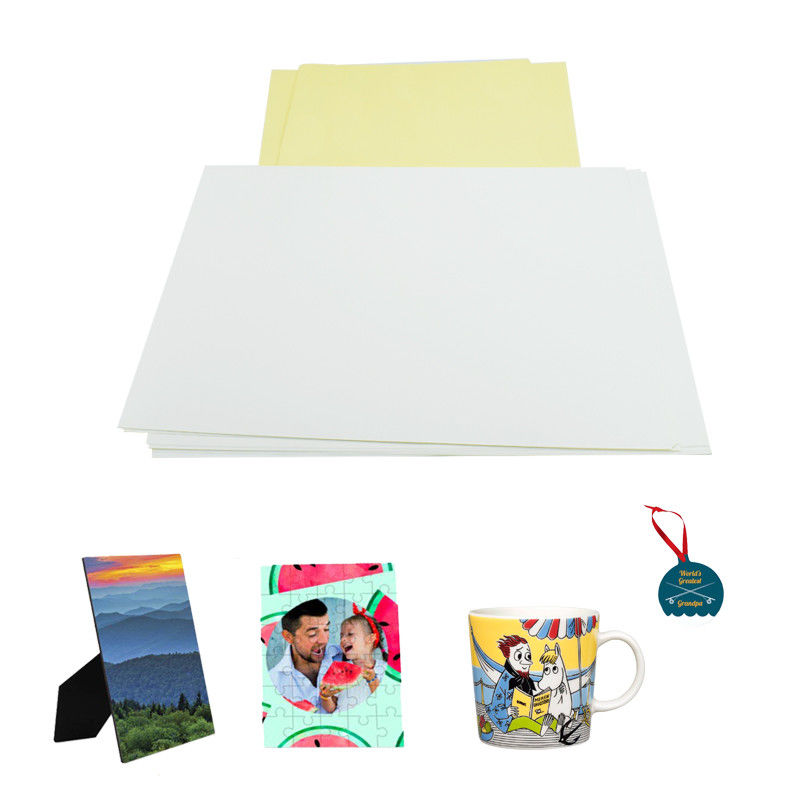
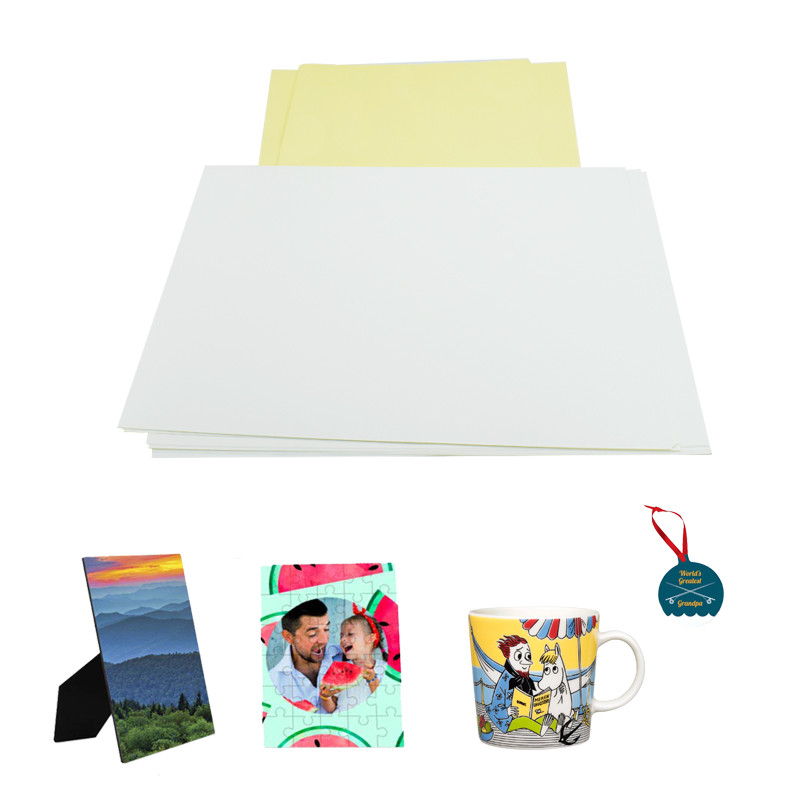
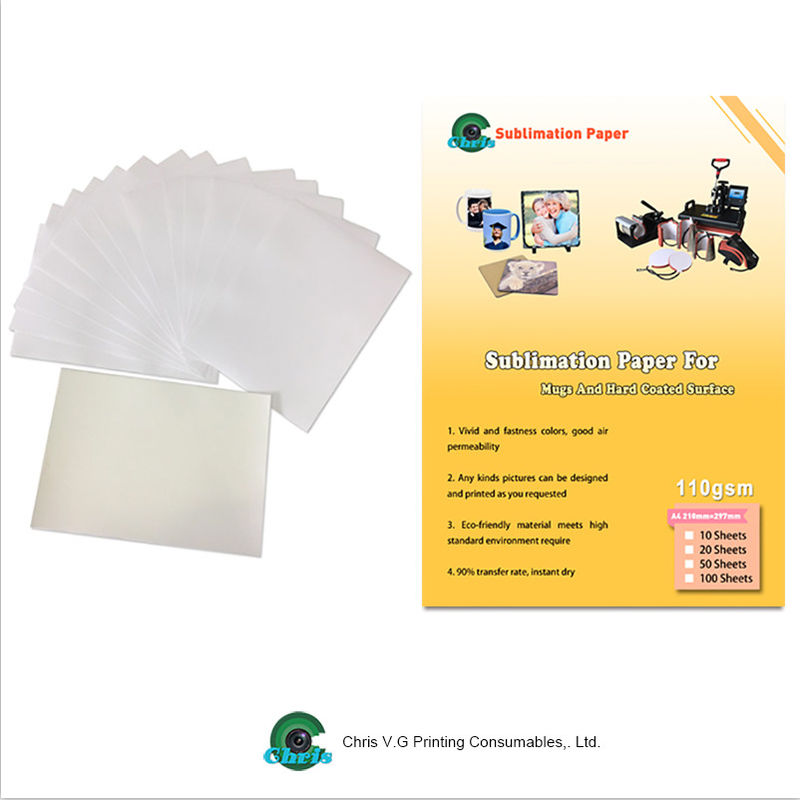
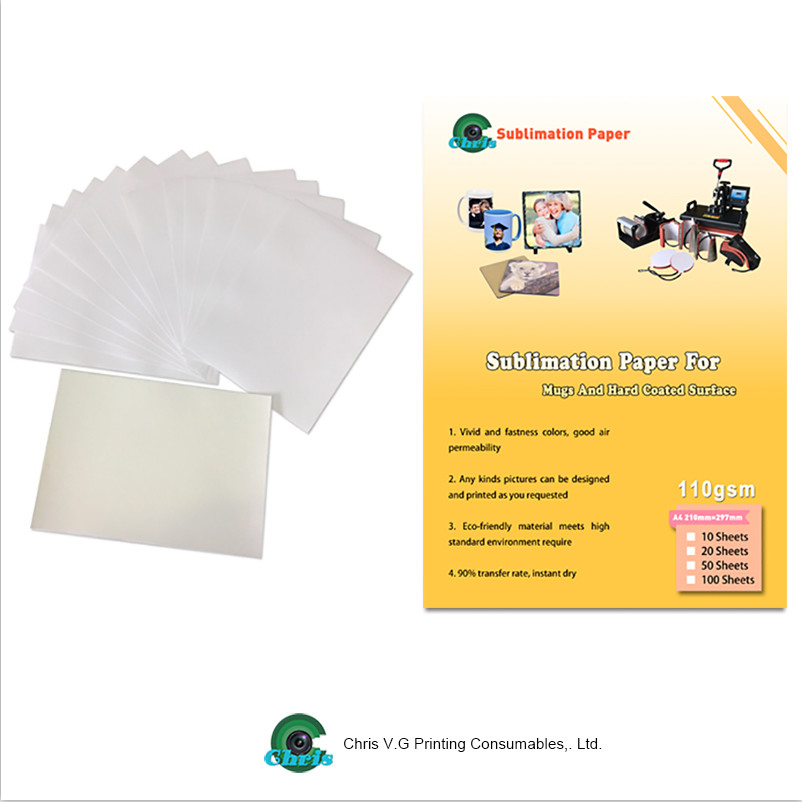
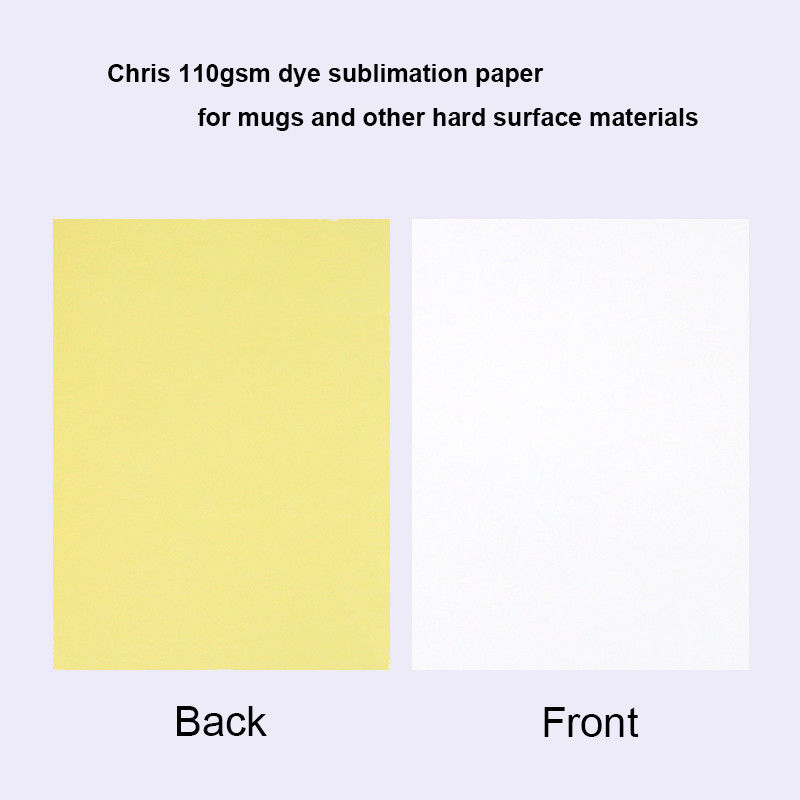
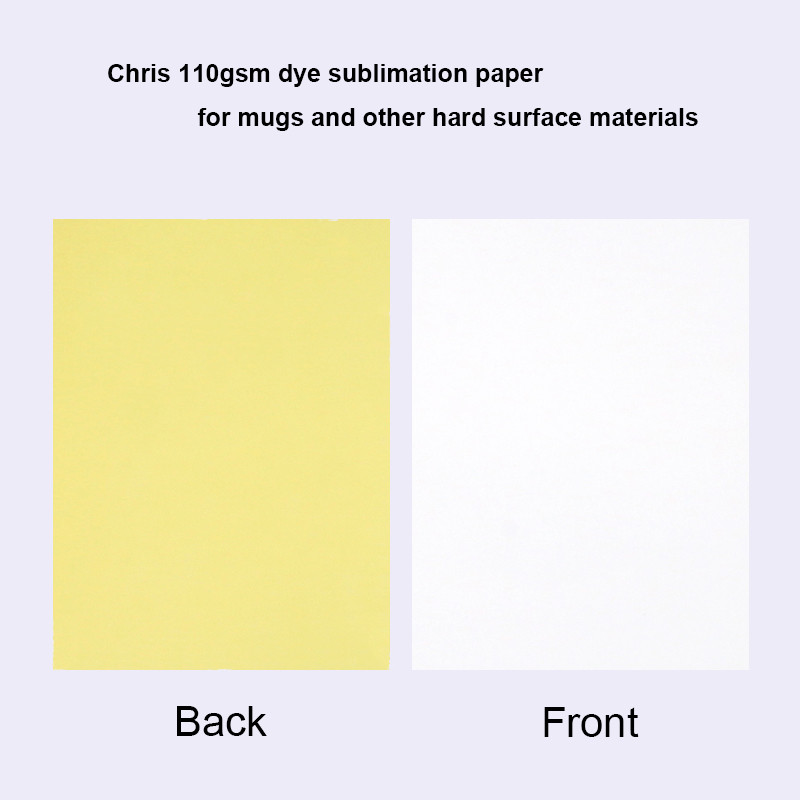
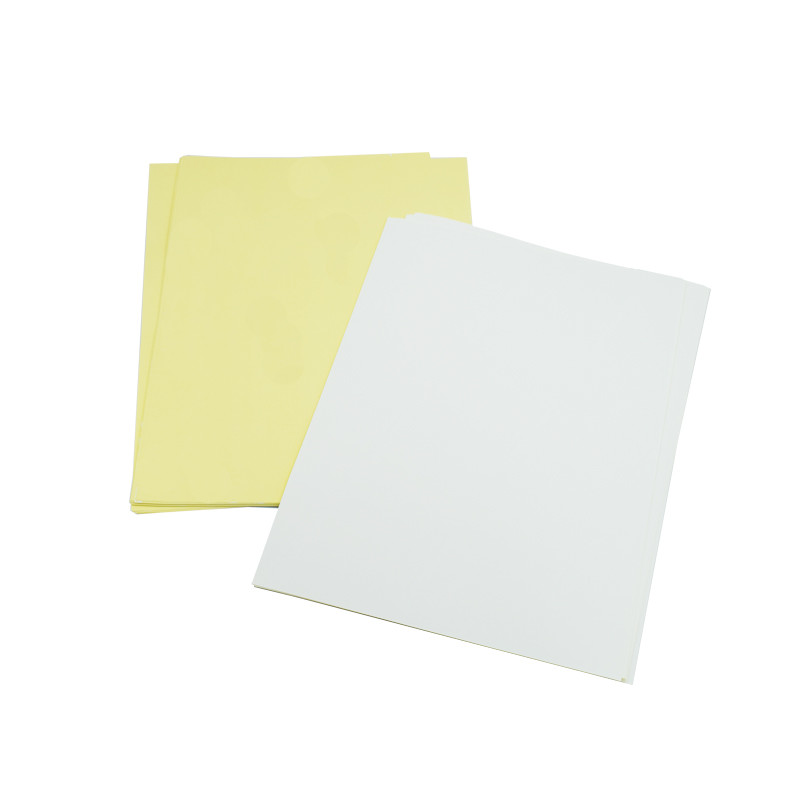
110gsm Dye Transfer Sublimation Paper Special For Mus And Hard Surfaces A4 A3
Sublimation ink can convert from a solid to a gas without going through the liquid form, which allows you to apply an image to specially coated materials using heat and pressure! With 110gsm Chris dye sublimation paper , you can print full colors , bright colors and multiple colors! When applying to garments , the ink is embedded into the fibers. This allows for the design to feel as if it’s part of the garment and not actually on the garment !
1. Advantages :
- Fast drying , high ink release
- Works on all inkjet printers
- Best color performance , transfer rate over 95%
- Extremely diverse size and length range to choose from
- Suitable for sublimation billet such as fabric , paper cup , ceramics , metal , flag , etc.
2.Specifications :
- Sublimation transfer technology is now widely used in gifts , commodities , fabrics and industrial fields
- Dye - sublimation inkjet printing technology has been widely used in various personal and industrial fields.
- Sublimation transfer paper must be printed with sublimation ink, transfer rate up to 95 - 97%. It has high quality graphics and best color retention.
- Work on all inkjet printers with sublimation ink specifications
- Suitable for textile, ceramic and other specifications
- Treansfer rate >95% , fast drying
- Use the equipment : Iron and Heat Transfer Machines
3. Features:
- Transfer time : 15-30S
- Transfer temperature : 180-230℃
- Transfer preasure : 0.4bar
- Printer : digital printer
- Ink : sublimation ink
4. Application:
Mug , plate , bowl , candle holder , money - saving box , cookies jar and so on.

Packaging Details:
|
Size
|
A4 or A3
|
|
Packing
|
A4*100 sheets / pack , 30 packs per carton
|
|
Port
|
Guangzhou / Foshan / Shenzhen / Ningbo
|
|
Lead Time
|
Within 7-15 working days
|

How to Sublimate Ceramic Mugs:
Before you begin the ceramic mug sublimation process, make sure you have all of the following materials:
- Sublimation printer
- Mug heat press machines
- Ceramic sublimatable mugs
- Dye Sub ink
- Heat-resistant tape
- Quality Sublimation transfer paper
- Scissors
- Heat-resistant oven mitt

Generally for most good quality sublimation paper you don't require a lot of ink to be laid down on the sublimation paper. If you are using an EPSON printer good setting to start with are Quality Option: Photo, Paper Type: PLAIN PAPERS, under the Page Layout Tab make sure the Mirror Image check-box is ticked. Click OK then the Print Button and then the Print button again in the Illustrator Print window.
Don't worry about the washed out look. All sublimation prints look like this. The magic happens once the image is heat pressed / printed onto the mug. This is when the ink turns to a gas state and is absorbed into the polyester coating on the surface of the sublimation mug.
Cut about 1mm inside of the magenta cut-line. Don't leave any of the magenta line on the paper of it will print on your mug.
All mugs are slightly tapered so before we wrap our artwork around the mug we are going to make two cuts right in the middle of the paper so we end up cutting through about 3/4 of the paper. What this will allow us to do is once we have taped the paper to the mug with the image facing the mug the cuts allow us to adjust the center of the paper up or down just a little to allow for the taper. Otherwise your text may not run parallel to the bottom of your mug. You will also notice that most of the time you can see through the paper so this will help you to align your images so they are horizontal. So now cut off about 3 pieces of heat tape about 1/2" 12mm long stick them on the edge of your bench. Carefully wrap the paper around a mug, image facing inward. Now rotate the paper back and forth until you have roughly the same distance between each end and the handle and the same amount of white ceramic showing at the top and bottom of the paper. Once this is done apply 1 piece of tape to the center of each end of the paper. Now check to see if your text is aligned with the base of the mug. If not you can slip the paper up a down a bit where the cuts are until it is. Once you have this right apply the last piece of heat tape half over the bottom cuts and half on the mug to hold the paper in place.
Now plug in your mug press and set the temperature for 400℉ / 204℃ and the timer for 180 seconds and let it preheat to the required temperature. (please note this is the setting for TexPrint XP sublimation paper) other sublimation papers may require lower temperatures or longer or shorter heating times. Once the press reaches the set temperature slide you mug into position and clap the mug press shut. If you have one with a count down timer it should start automatically or you may have to press the enter button to start the timer.
Once the time is up release the pressure off the press and remove the mug by the handle followed by picking the edge of one the the bits of heat tape on one end of the paper with your fingernail then peeling the paper off the mug in one smooth movement. (watch out its HOT!) This part is important as while the mug is still hot the image will still be releasing ink gas and if you do not remove it in a smooth motion you may end up with ghosting (double images), over spray or a slightly blurry image. This can also happen if you cook the mug for too long. You may have to experiment with heat and times to get the right setting for your press.
 Your message must be between 20-3,000 characters!
 Please check your E-mail!
  Your message must be between 20-3,000 characters!
 Please check your E-mail!

