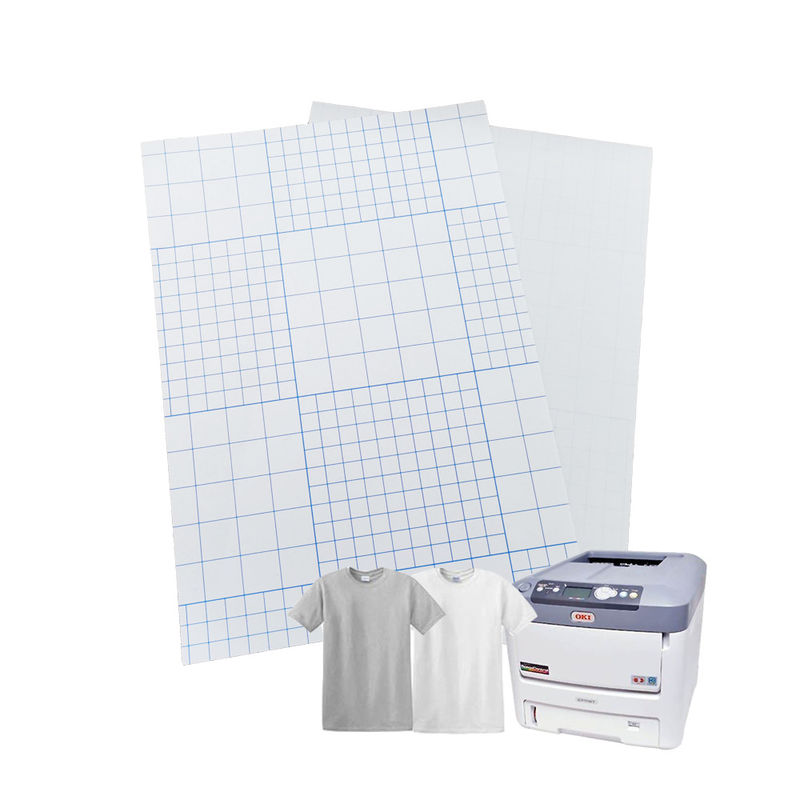
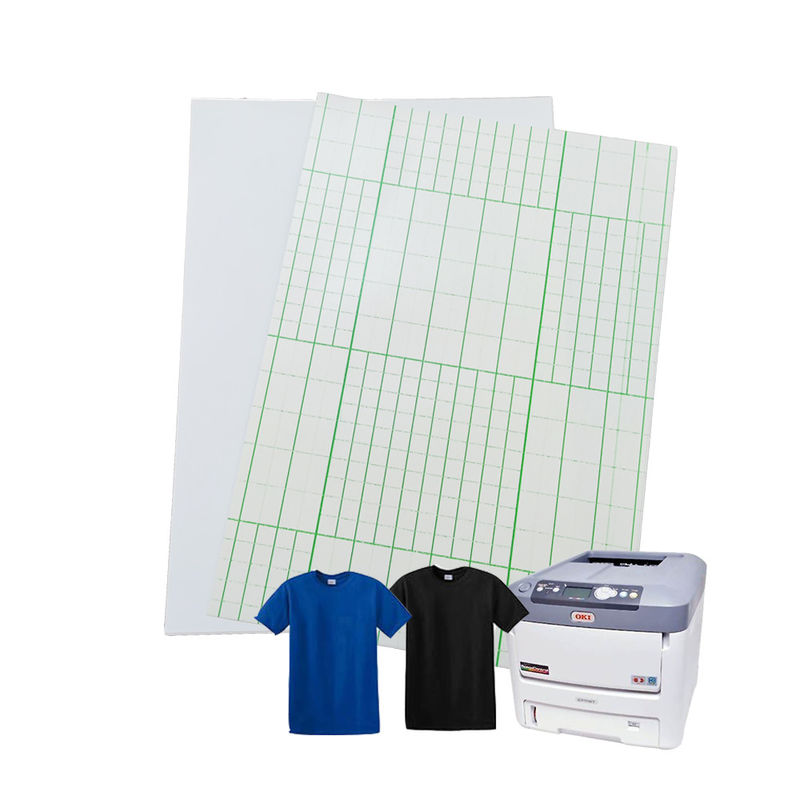
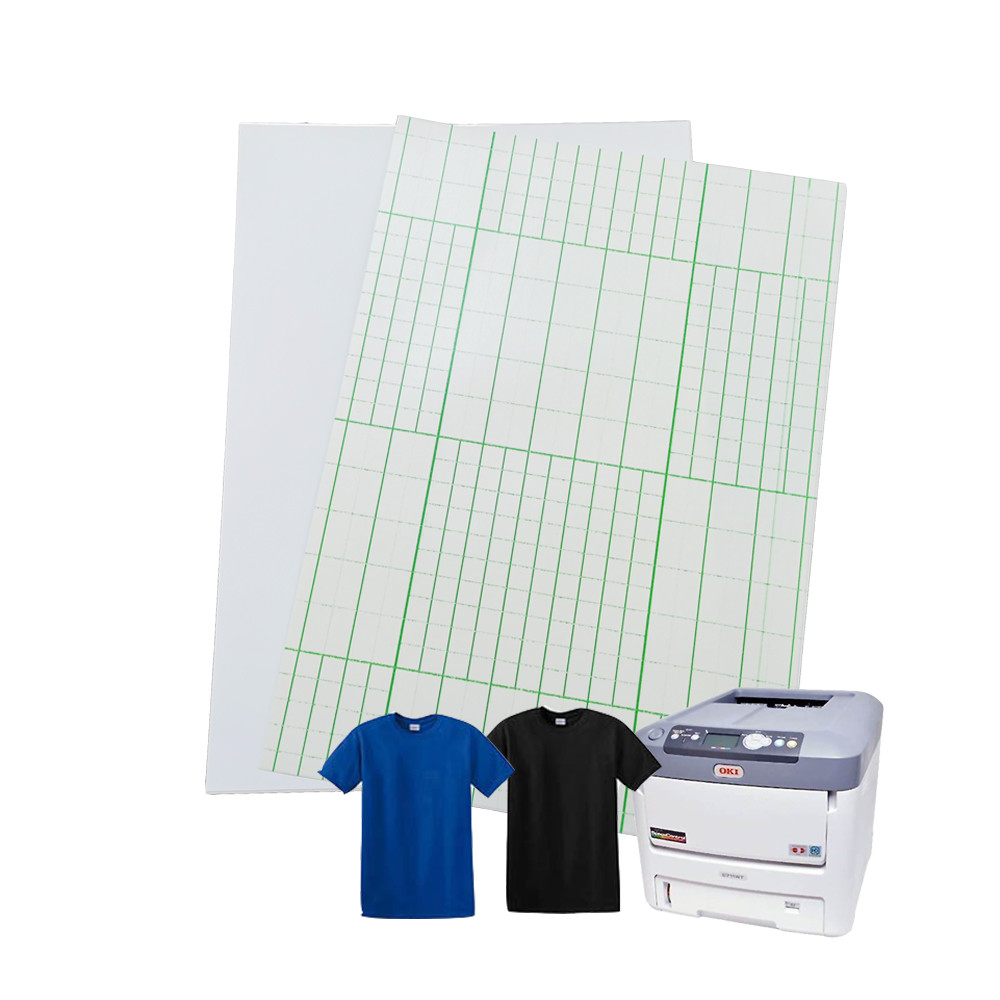
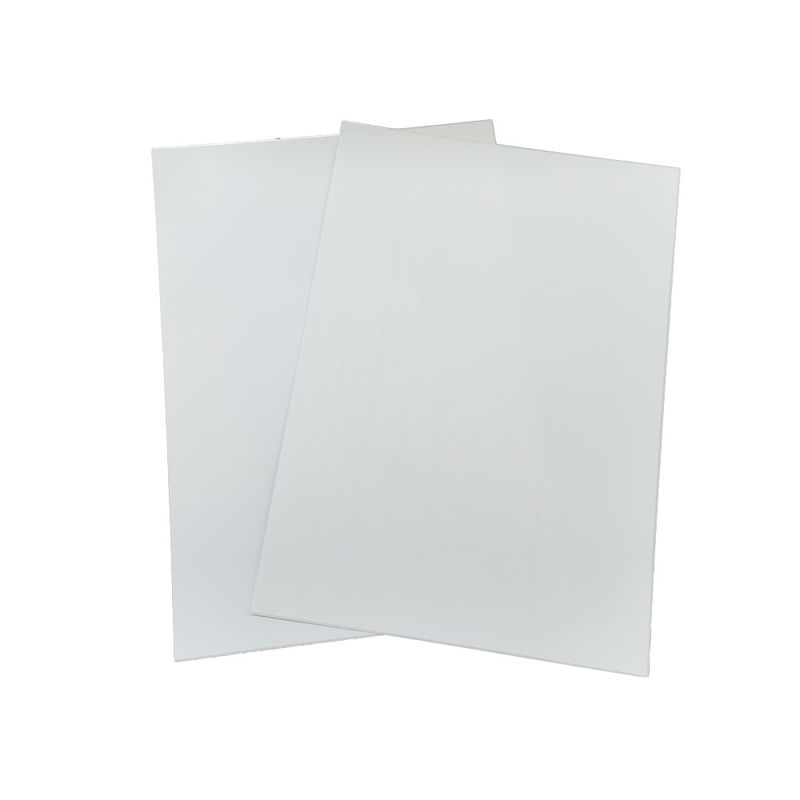
Light And Dark Color Laser Transfer Paper For T - Shirt Textile A4
Transfer paper is suitable for DIY your T - shirts , bags , mouse pads and can use with both a regular household iron and heat press machine.
Cotton heat transfer paper
|
|
|
CH - LTP
|
|
|
|
|
|
|
|
|
All color laser printer with white toner
|
|
|
10 / 20 / 50 / 100 sheets / pack
|
|
|
|
Light color laser transfer paper
Transferring
1. Prepare a stable , heat - resistant surface suitable for ironing on.
2. Preheat the iron to the highest setting , recommended ironing temperature 185 ℃.
3. You can also use a heat press , set 185 ℃ for 10 - 15 seconds using moderate or high pressure. The press should snap closed firmly.
4. Briefly iron the fabric to ensure that is completely smooth , that place the transfer paper onto it with the printed image facing downward.
- Do not use the steam function.
- Make sure that the heat is evenly transferred over the entire area.
- Iron the transfer paper , applying as much pressure as possible.
- When moving the iron , less pressure should be given.
- Don't forget the corners and edges.
5. Continue ironing until you have completely traced the sides of the image. This entire process should take about 60 - 70 seconds for an 8 " x 10 " image surface. Follow - up by ironing the whole image quickly , heating all of the transfer paper again for approximately 10 - 13 seconds.
6. Peel the transfer starting at the corner after the ironing process.
Dark color laser transfer paper
Transferring
1. Printing
1) Printer settings : thick mode using photo quality print quality.
2) Before transferring , cut out the motif without leaving a margin around the edges. Straight after peel off the transfer film from the paper back.
3) First print the desired motif onto standard paper to check that the color and size are correct.
2. Transferring
1) Pre - heat the iron to the highest setting ( takes approx. 5 - 10 minutes ) , switch off steam functions.
2) You can also use a transfer heat press , recommended transfer temperature is 165 ℃ , press approx. 25 seconds
3) Briefly iron the fabric to ensure that it is completely smooth.
4) Place the transfer paper onto the textile with the printed image facing upwards.
5) Cover the transfer paper with the greaseproof paper or adhesive polyester film.
6) Iron the transfer film applying less pressure , warm up the transfer evenly with slow circling movements from edge to edge and make sure that the heat is evenly transferred over the entire area. Don't forget the corners and edges.
7) Iron for max. 4 min for A4 sheet. For smaller images iron shorter.
8) Allow the transfer to cool for a white , then peel off the greaseproof paper in smooth , even movement.
9) It's possible to use the same greaseproof paper several times , if here is no areas left on it.
Washing :
Wash inside out in cold water. Do not use bleach. Place into the dryer or do hang to dry immediately. Do not iron the shirt's image surface again.
Transfer effect dispaly

Packing :

 Your message must be between 20-3,000 characters!
 Please check your E-mail!
  Your message must be between 20-3,000 characters!
 Please check your E-mail!

